FreeCAD: How to manage dimensions with a spreadsheet?
In this section, we explain how to manage dimensions (i.e numerical parameter) of sketches, extrusion, chamfering, etc... with a spreadsheet.
Preparing spreadsheet
-
Switch workbench to Spreadsheet workbench
 and make new spreadsheet
.
-
Change the spread sheet name to identify easily. Right-click the sheet in model-tree and select [Rename] to change the name to "MyDimensions".
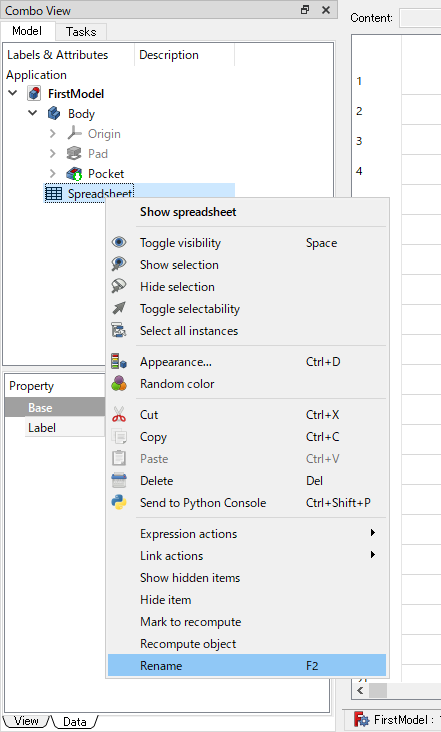
Rename the sheet -
Make a table of dimension values. Right-click one of the cells tht has numerical value and select [Properties...] to display the "Cell properties" dialog.
-
On "Alias" tab in "Cell properties" dailog, enter "H_length" as cell name. Click to close the dialog and the named cell's color will change to yellow.
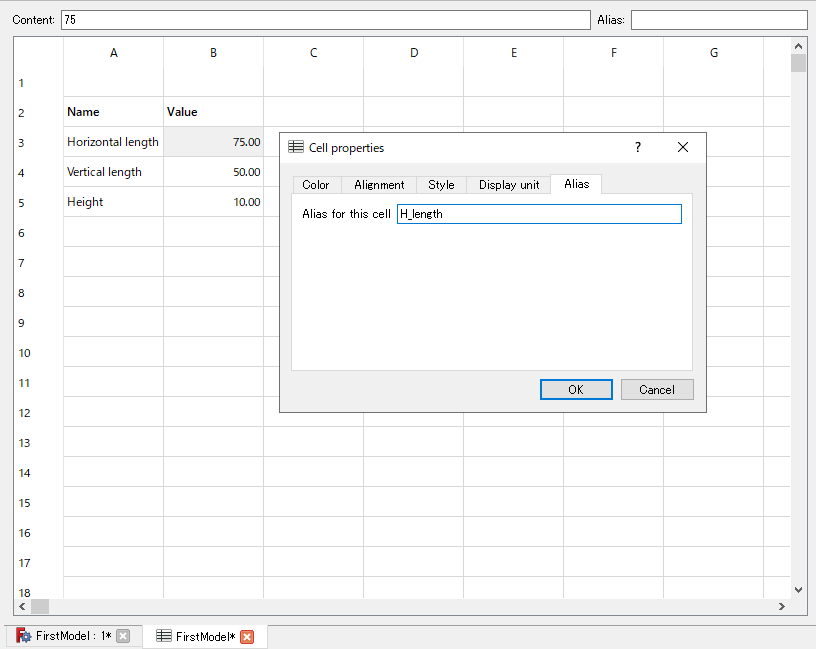
Set name to the cell Repeat the same operation and set any names to all cells which have numerical value.
Using the values on spreadsheet as a shape's numerical parameter
As an example, let's use the values on the sheet for the sketch dimensions.
-
Open existing sketch to change editing-mode, and double-click a dimensional constraint to show a setting dialog.
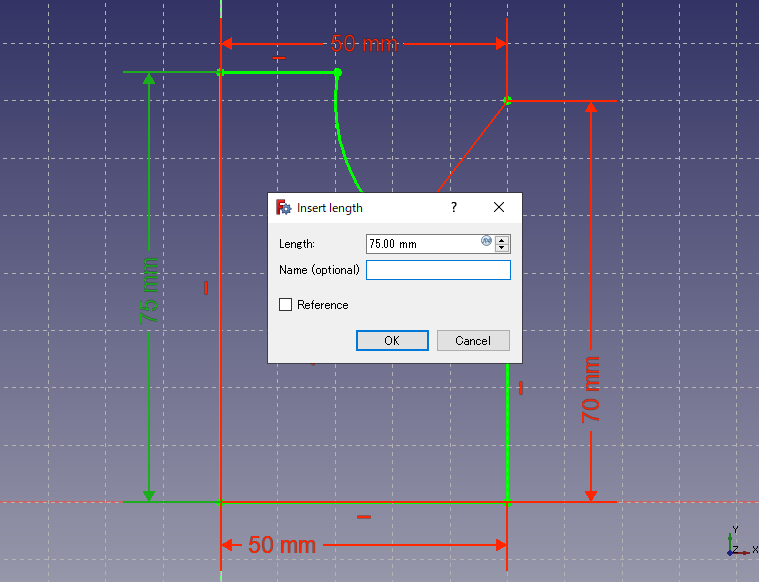
Dimensional constraint setting dialog for sketch -
Click the formula icon
on the right side of the numeric input field to show the Formula editor. Then specify a cell on the sheet in the format "Sheet-name.Cell-name" ("MyDimensions.H_length" in this example).
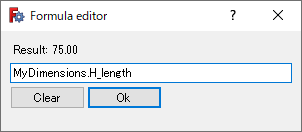
Formula editor Click to close the dialog. So the specified cell's value will be apllied and the constraint's color change to orange.
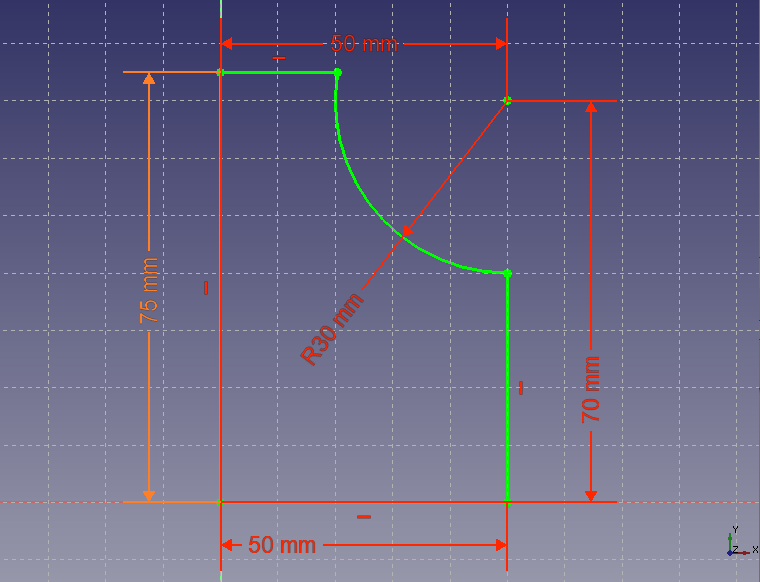
Orange colored constraint
Now that the dimensions of the shape are defined by the values on the sheet. If you change the values on the sheet, the dimensions of the shape will change accordingly. You can use the values on the sheet everywhere for dimensions with formula icon
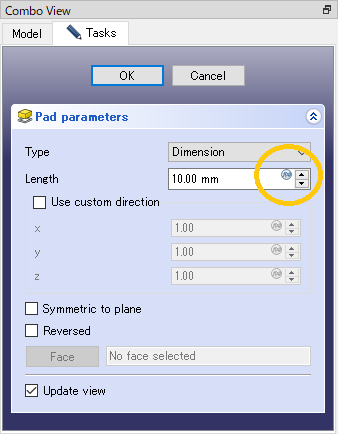
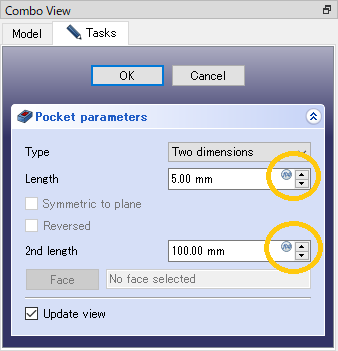
Discard the setting
If you want to discard cell reference which is applied above, click formula icon
