FreeCAD: How to copy, move and rotate a object?
In this section, I will explain how to make a copy of object like a sketche or a sokid, and to move it to other position.
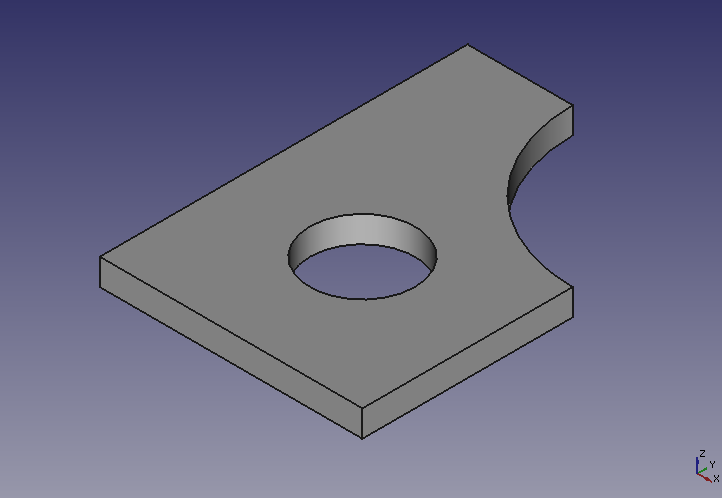
At first, create a shape to be used as a copy source.
Copying a object
-
In model tree, select the object that you created and select "Copy" on right-click menu.
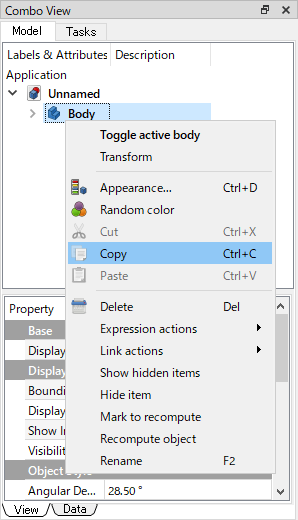
"Copy" on right-click menu -
If the selected object has a dependency object, a Selection dialog will be shown. Make sure that all items are checked, then click .
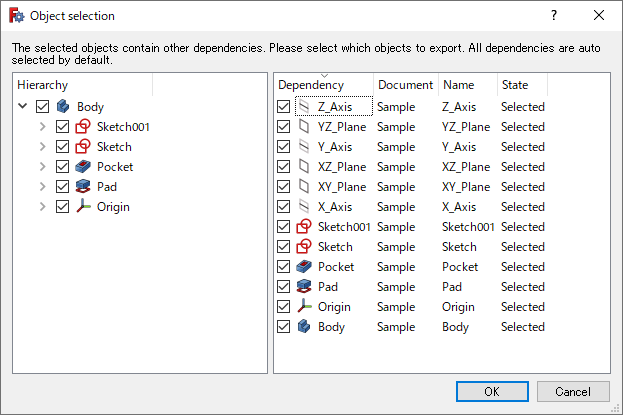
Object selection dialog -
Select any object in model tree, and select "Paste" on right-click menu to copy the object.
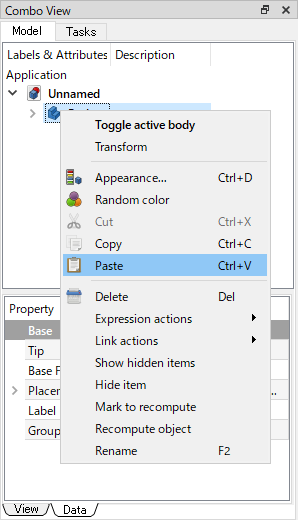
"Paste" on right-click menu -
Coping result is shown below.
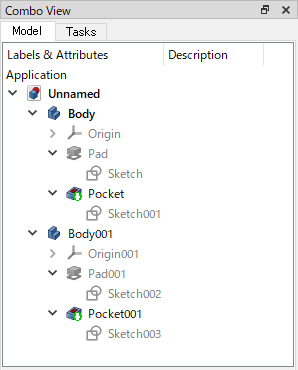
Coping an object and dependency objects If you uncheck the dependency object (e.g. Sketch) in the selection dialog, the source and copy will share the same dependency object (Sketch). In this case, if you change the dependency object (Sketch), the change will be reflected not only in the source but also in the copy.
Moving a object
A source object and a destination object are overlapped completely after copy operation. So we will move the destination object. There are 2 methods to move a object. By-value and By-mouse-drag.
Setting position by value
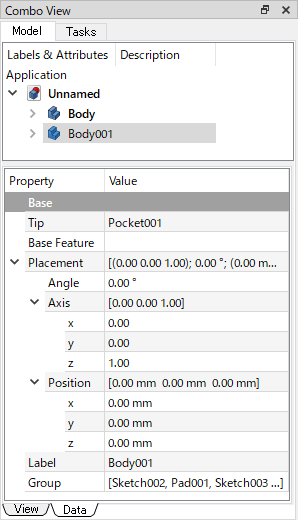
In model tree, select a object to be moved and change its Placement property values at Data tab. You can change Angel, Axis, and Position values.
Setting position by mouse drag
-
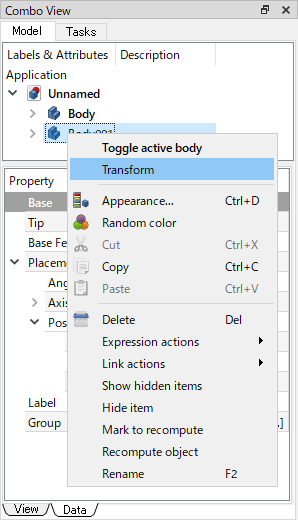
Select a object to be moved and select "Transform" on right-click menu.
"Transform" on right-click menu -
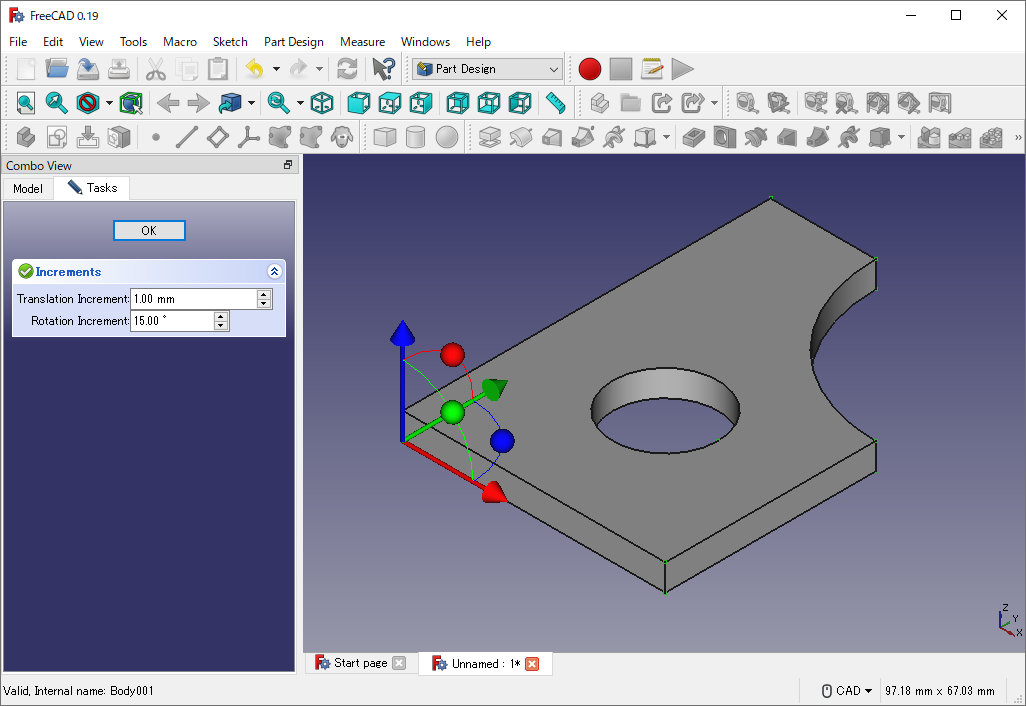
Arrows and spheres appear for each direction X, Y, Z on 3D view. If you want to translate the object, drag an arrow. If you want to rotate the object, drag a sphere. Increments of translation and rotation can be changed at Task tab.
-
Click at Task tab to finish transform operation.
Now, destination object was moved.
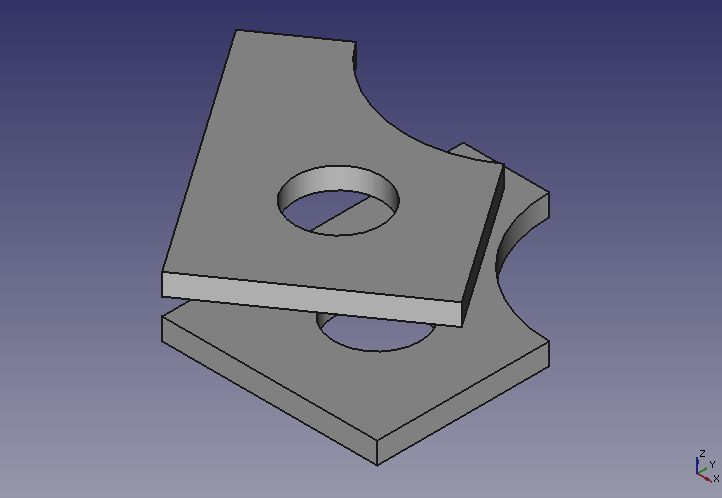
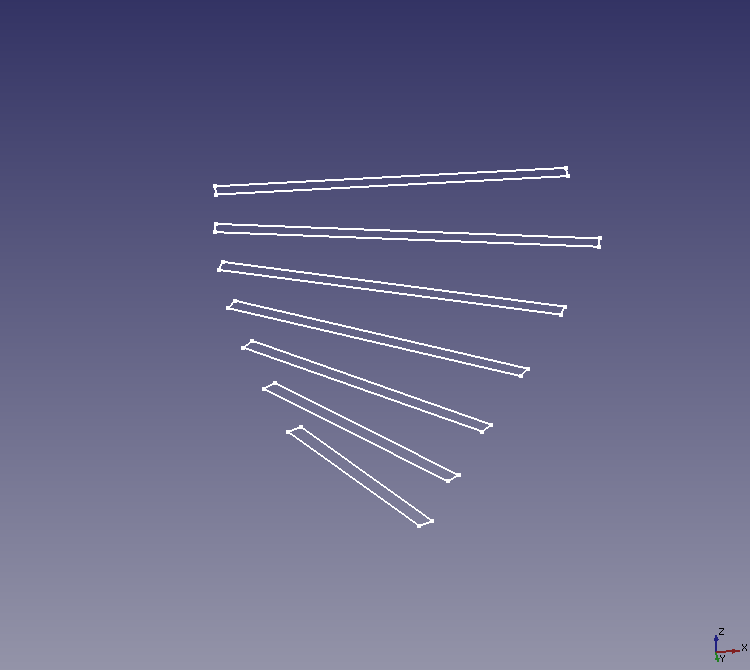
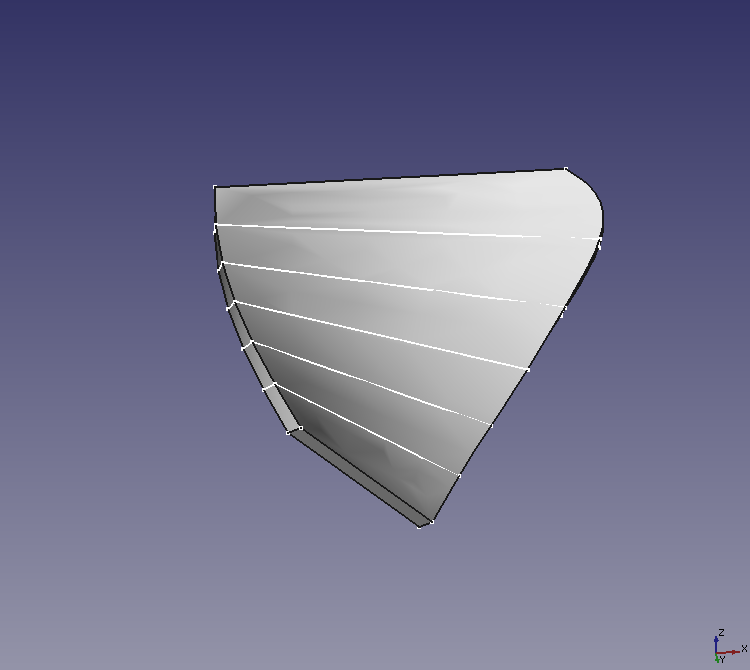
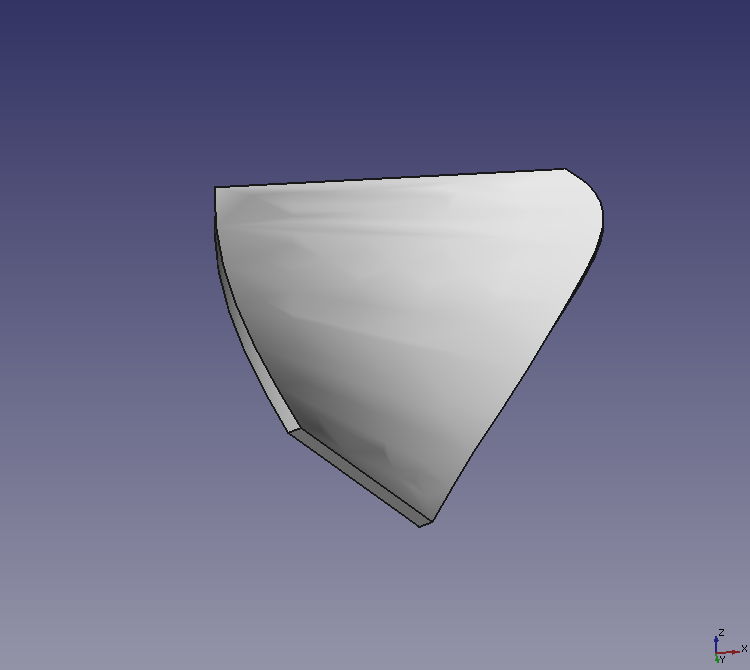
Sketches can be copied and moved in the same way. If you create a cross-sectional sketch of a shape and make multiple copies of it, you can create a shape that is deformed smoothly with these copies and Loft tool
